 USA SHIPPING
 MONEY BACK GUARANTEE
 1000+ HAPPY CUSTOMERS

If you're reading this, you're probably aware that pickleball is one of the fastest growing sports in North America. A fun, challenging sport for people of all ages, pickleball is taking the world by storm with pro and recreational leagues forming all over the map and big time celebrities investing in teams.
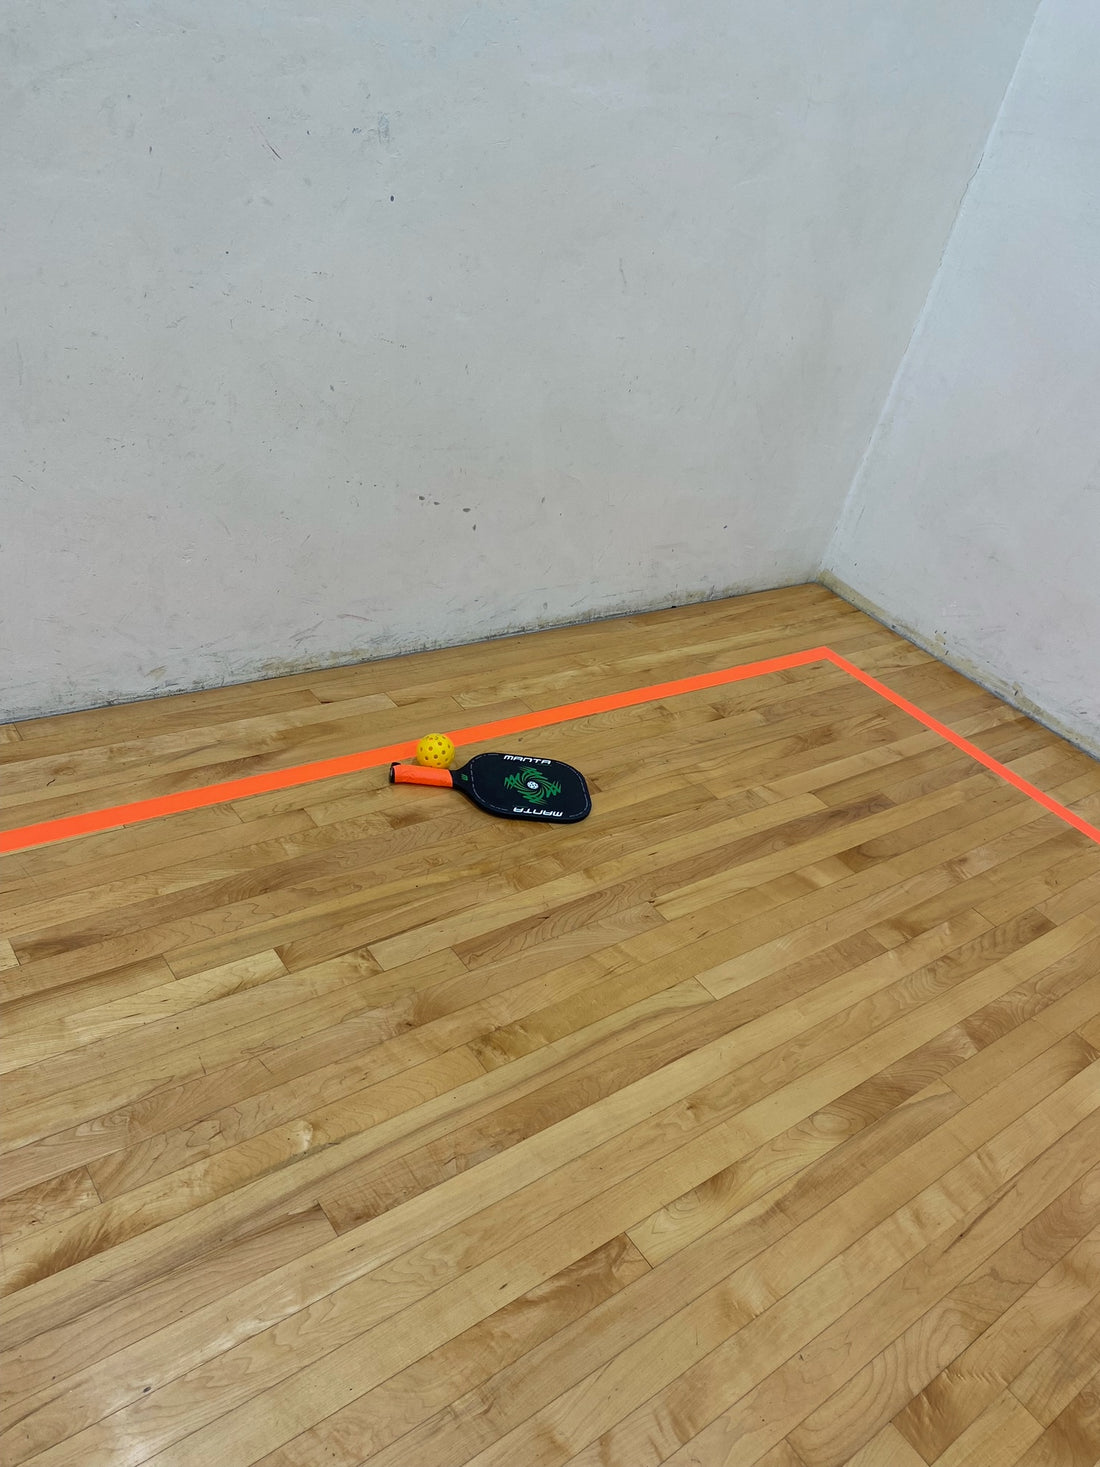
Many pickleball courts are now replacing tennis courts in residential areas. But until pickleball courts are readily available, finding a court with the proper dimensions can be tough. That's why Gaffer Tape is the perfect tape to have to create your own permanent or temporary pickleball court!
If you aren't familiar with Gaffer tape. it's a strong and durable tape that won't leave any residue when peeled off, making it an excellent choice for creating the lines on your pickleball court.
Here are the steps to create the lines for a pickleball court using gaffer tape:
Choose the location: Unless it's a specific pickleball court, the sport is usually played on a tennis court. However, since you have Gaffer Tape, you can chose any surface that is flat and smooth, like a driveway or a gymnasium floor.
Measure the dimensions: The next step is to measure the dimensions of the court. A standard pickleball court is 20 feet wide and 44 feet long. If you're creating a court in your backyard or driveway, you'll need to adjust the dimensions accordingly.
Mark the boundaries: Use a long measuring tape to mark out the boundaries of the court. Use the gaffer tape to create the lines for the boundary of the court. It is important to make sure that the lines are straight and the corners are square. You can use chalk or a white marker to mark out the lines before using the gaffer tape.
Mark the center line: Use a measuring tape and a straight edge to mark the center line of the court. This line runs from one end of the court to the other, dividing the court in half.
Mark the service line: The service line is 7 feet from the net and parallel to it. Use a measuring tape to mark the service line and use the gaffer tape to create the line.
Mark the non-volley zone: The non-volley zone is a rectangular area that extends 7 feet from the net on both sides. Use a measuring tape to mark the non-volley zone and use the gaffer tape to create the line.
Mark the baseline: The baseline is the line at the back of the court. Use a measuring tape to mark the baseline and use the gaffer tape to create the line.
Mark the side lines: The side lines run perpendicular to the baseline and mark the width of the court. Use a measuring tape to mark the side lines and use the gaffer tape to create the lines.
Mark the center service line: Finally, mark the center service line using gaffer tape. This line runs parallel to the net and divides the service court into two equal halves.
And there you have it! You're very own, professional looking pickleball court. grab your paddle, gather some friends, and get ready to have some fun!
Ready to get started?? We have the perfect tape in stock right here!
PS. If you have any tape left over, you can use it to provide greater grip on your racket!